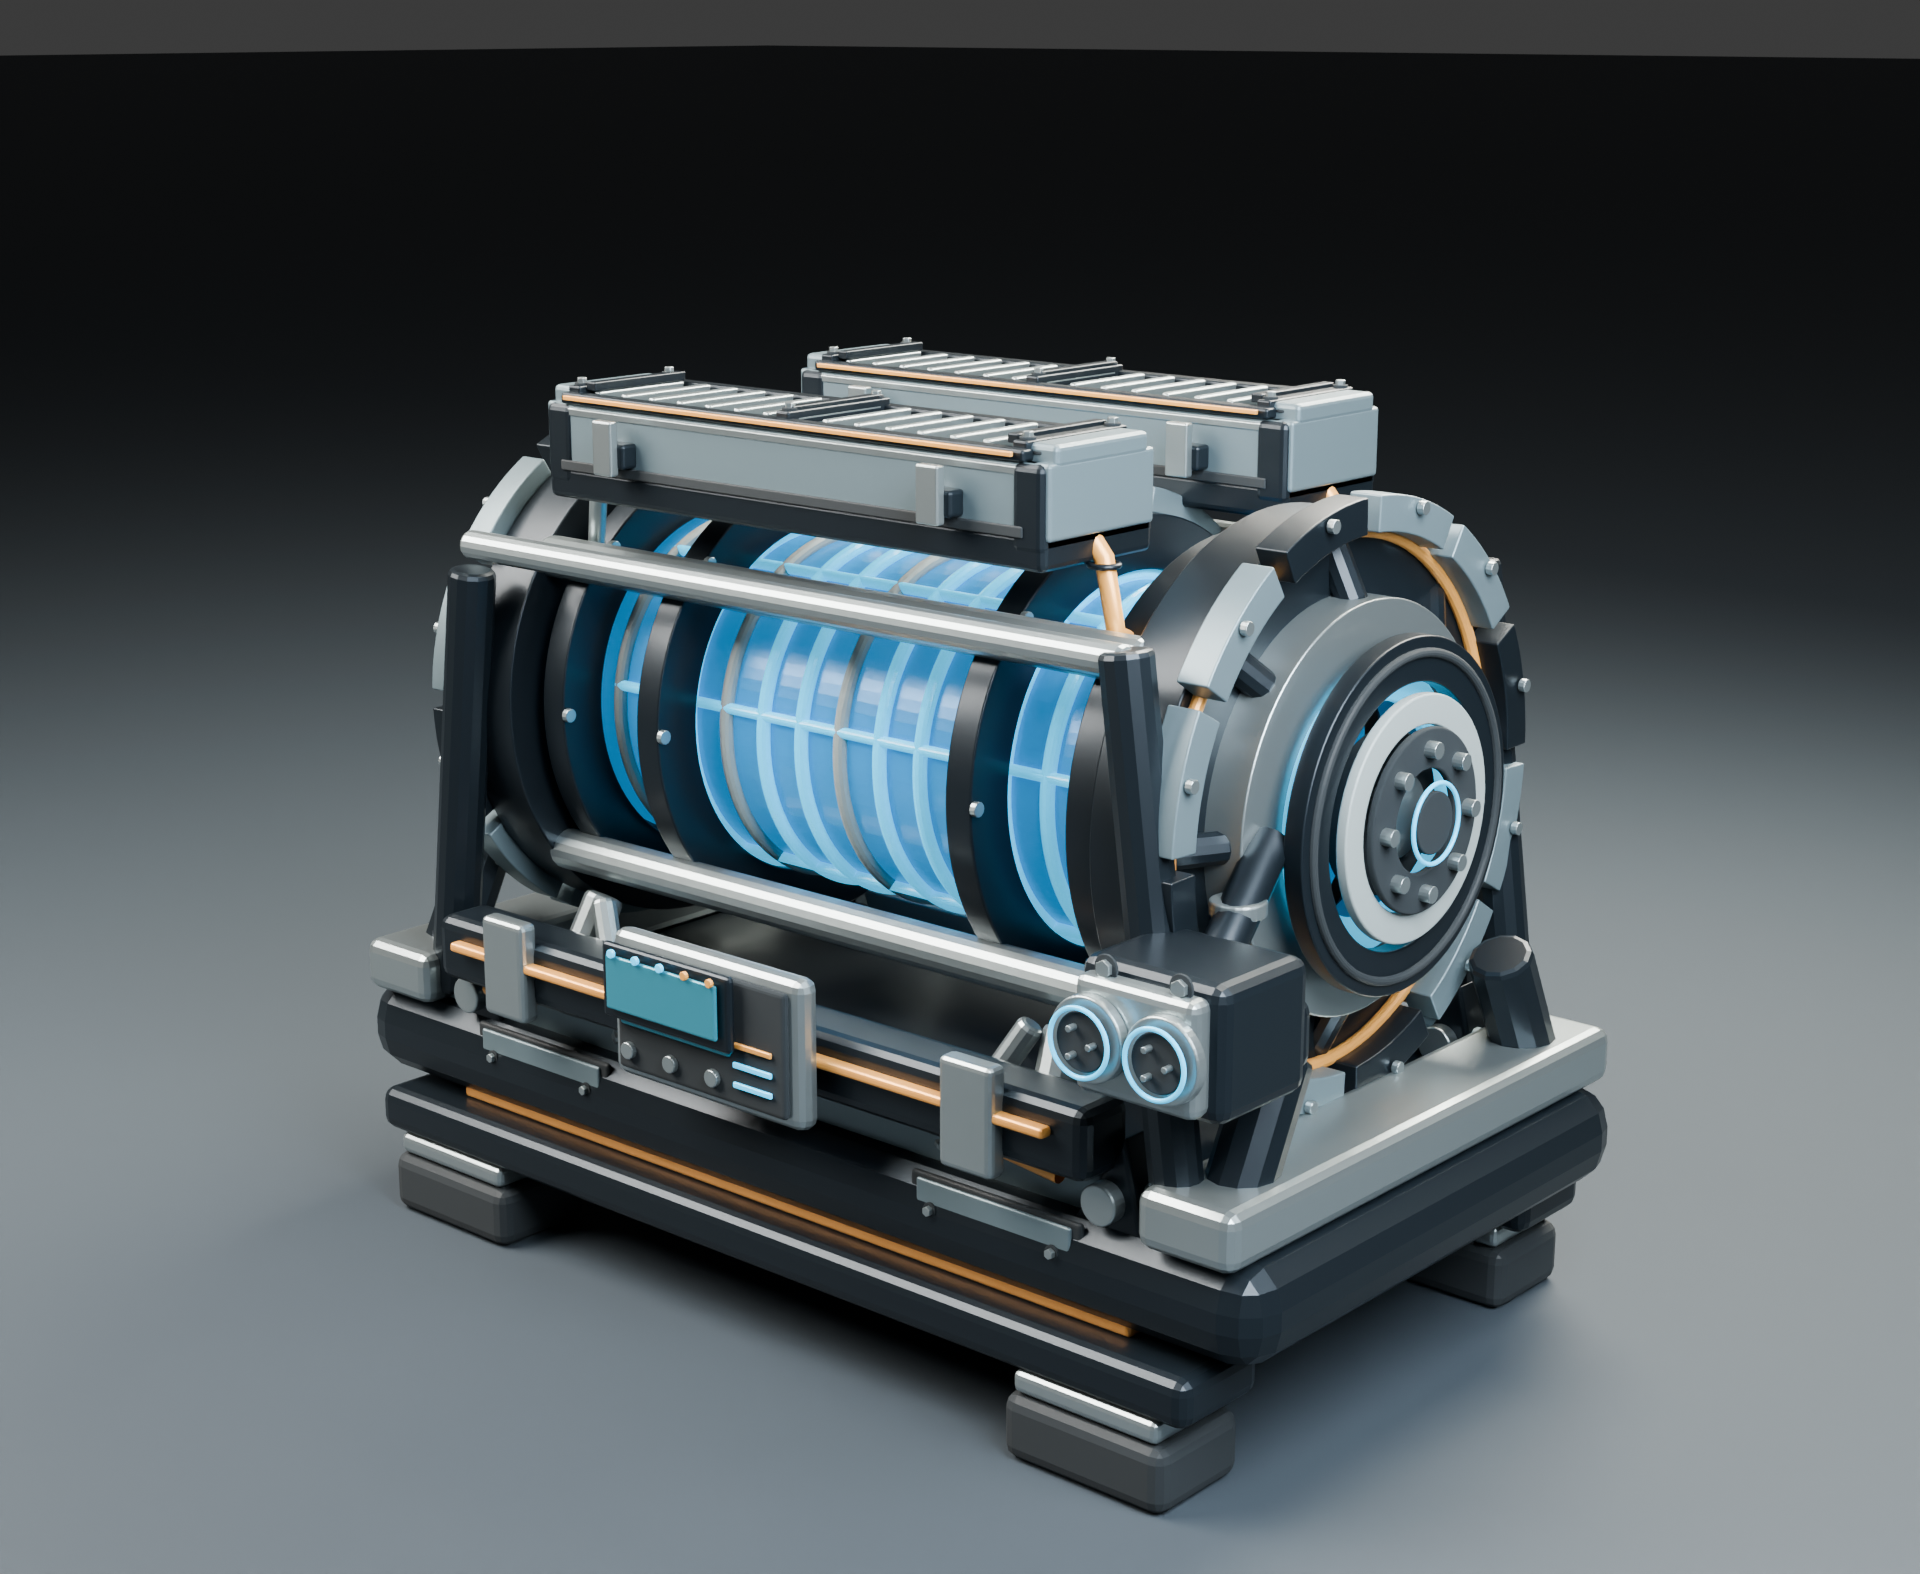
Create objects
AI helps turn a description into a construction plan and code. Blender builds the object from those instructions. Saved instructions can be reviewed, edited and run again.
Scripted asset demonstrationsWorking demonstrations
Explore the materials and variations shown on the homepage. Every render opens at full resolution.
01 / What we can show
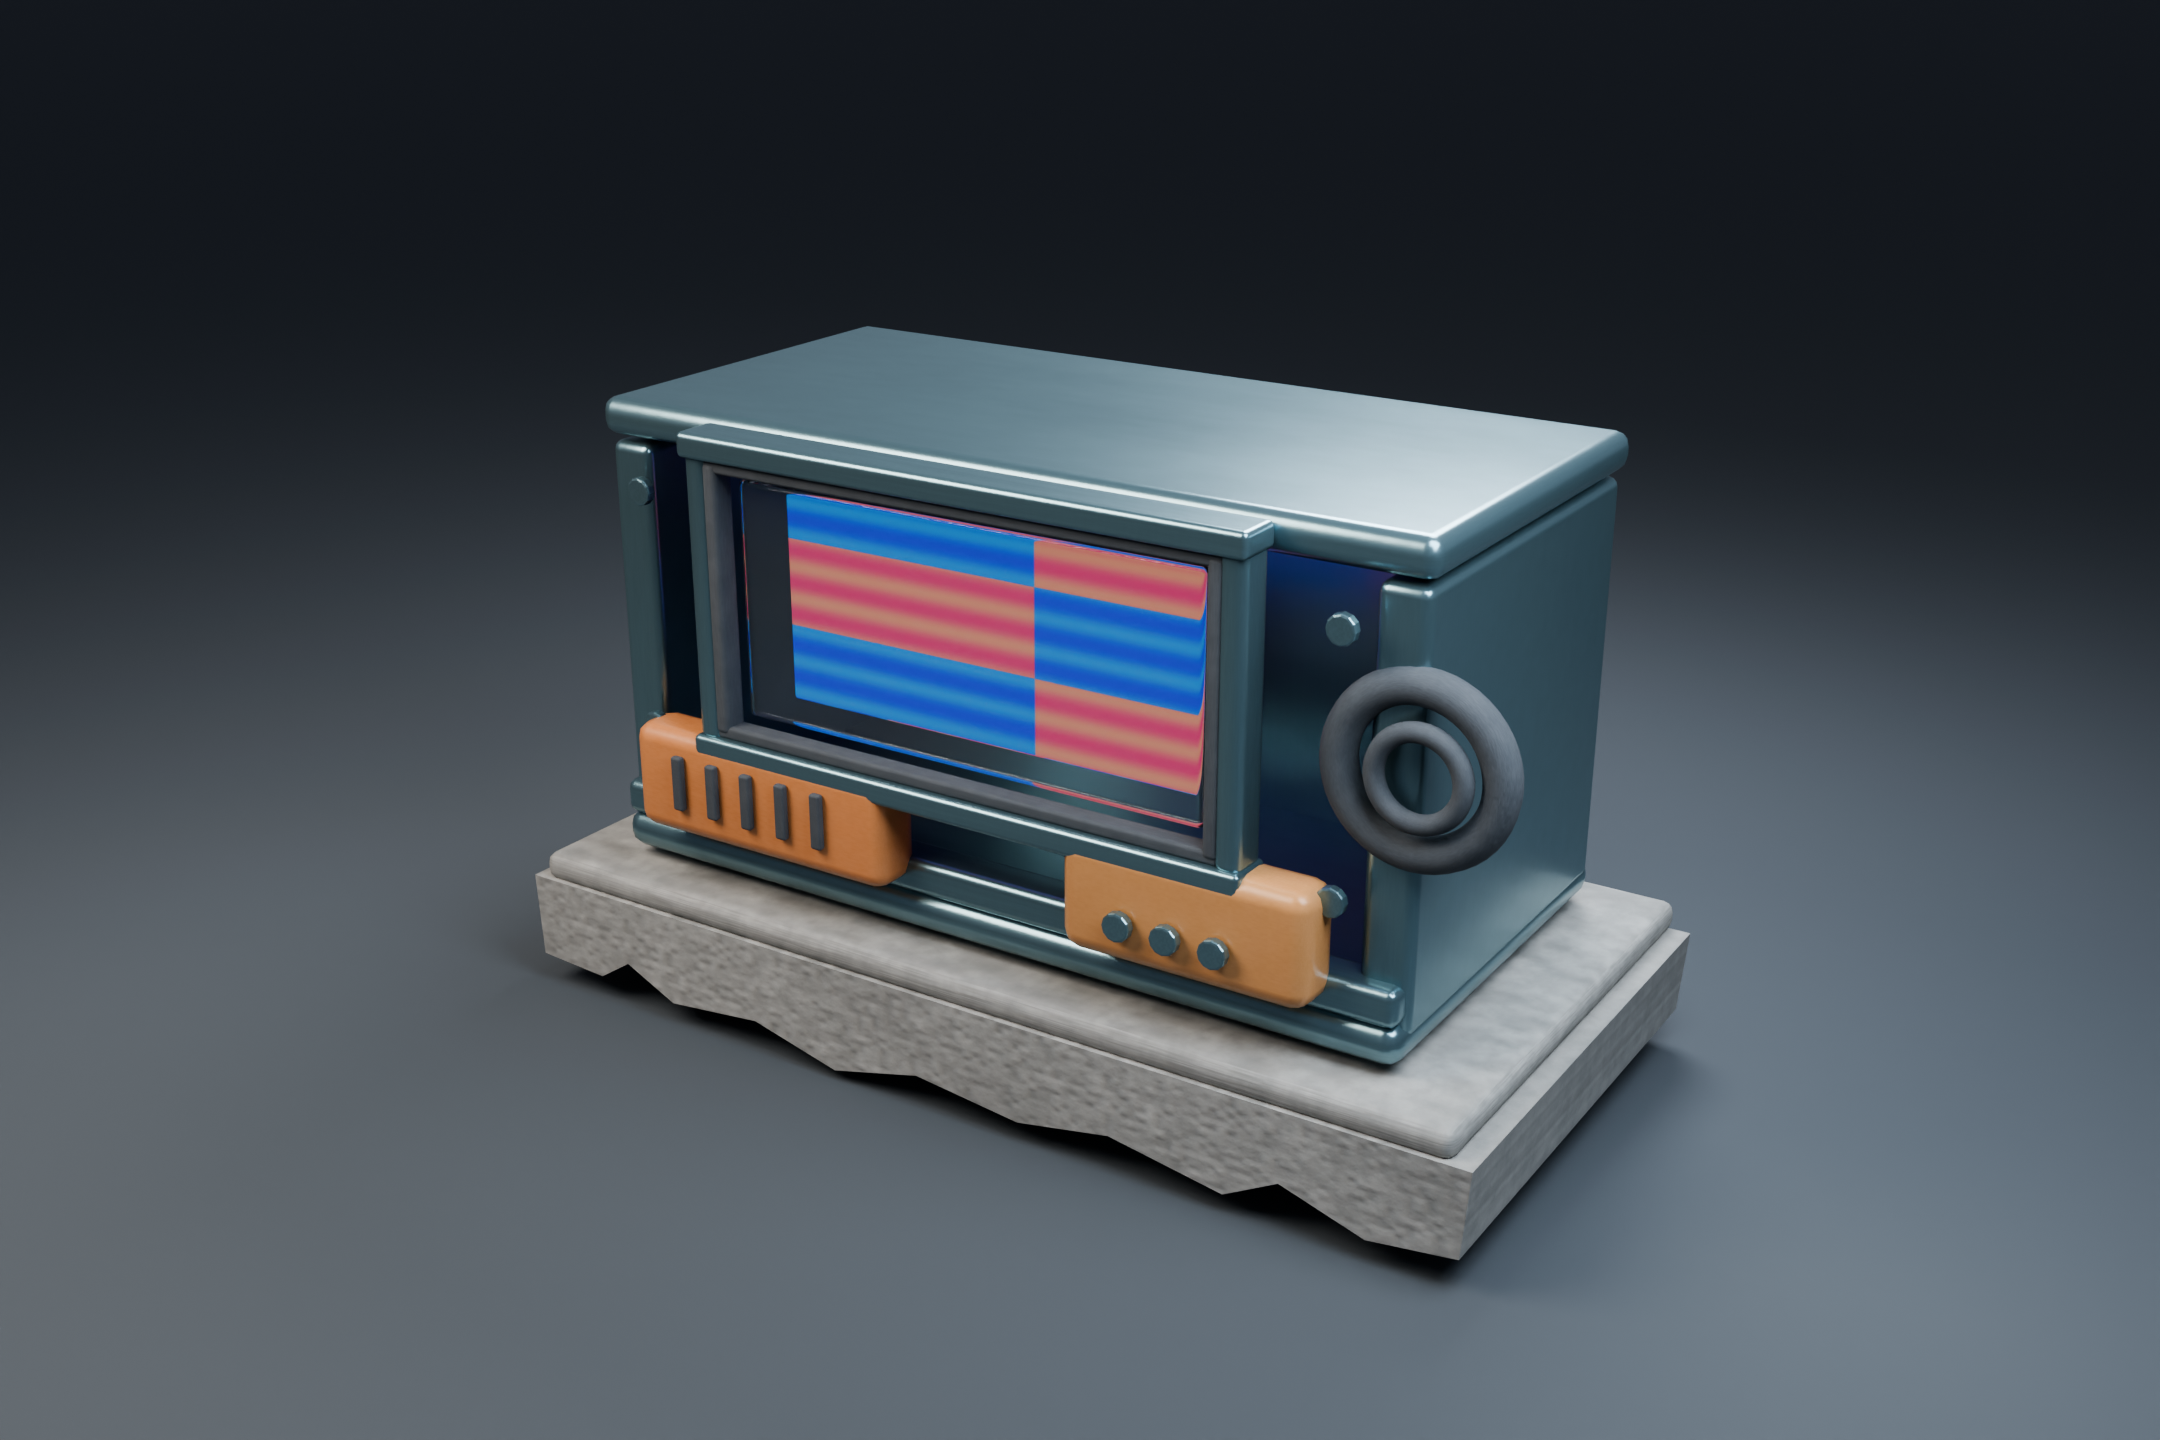
The metal casing, plastic controls, glass window, rubber loop and concrete base use different surface settings on a single object. Each material can be adjusted without rebuilding its shape.
Look around the object
The body and frame
The orange controls
The coloured display window
The loop and seals
The base underneath
In this second version, the casing uses concrete, the base uses blue plastic, the loop uses purple metal and the controls use rubber. The glass stays in place.
The object and camera are unchanged. These are material changes, rather than a newly generated shape.
See the colour and wear comparison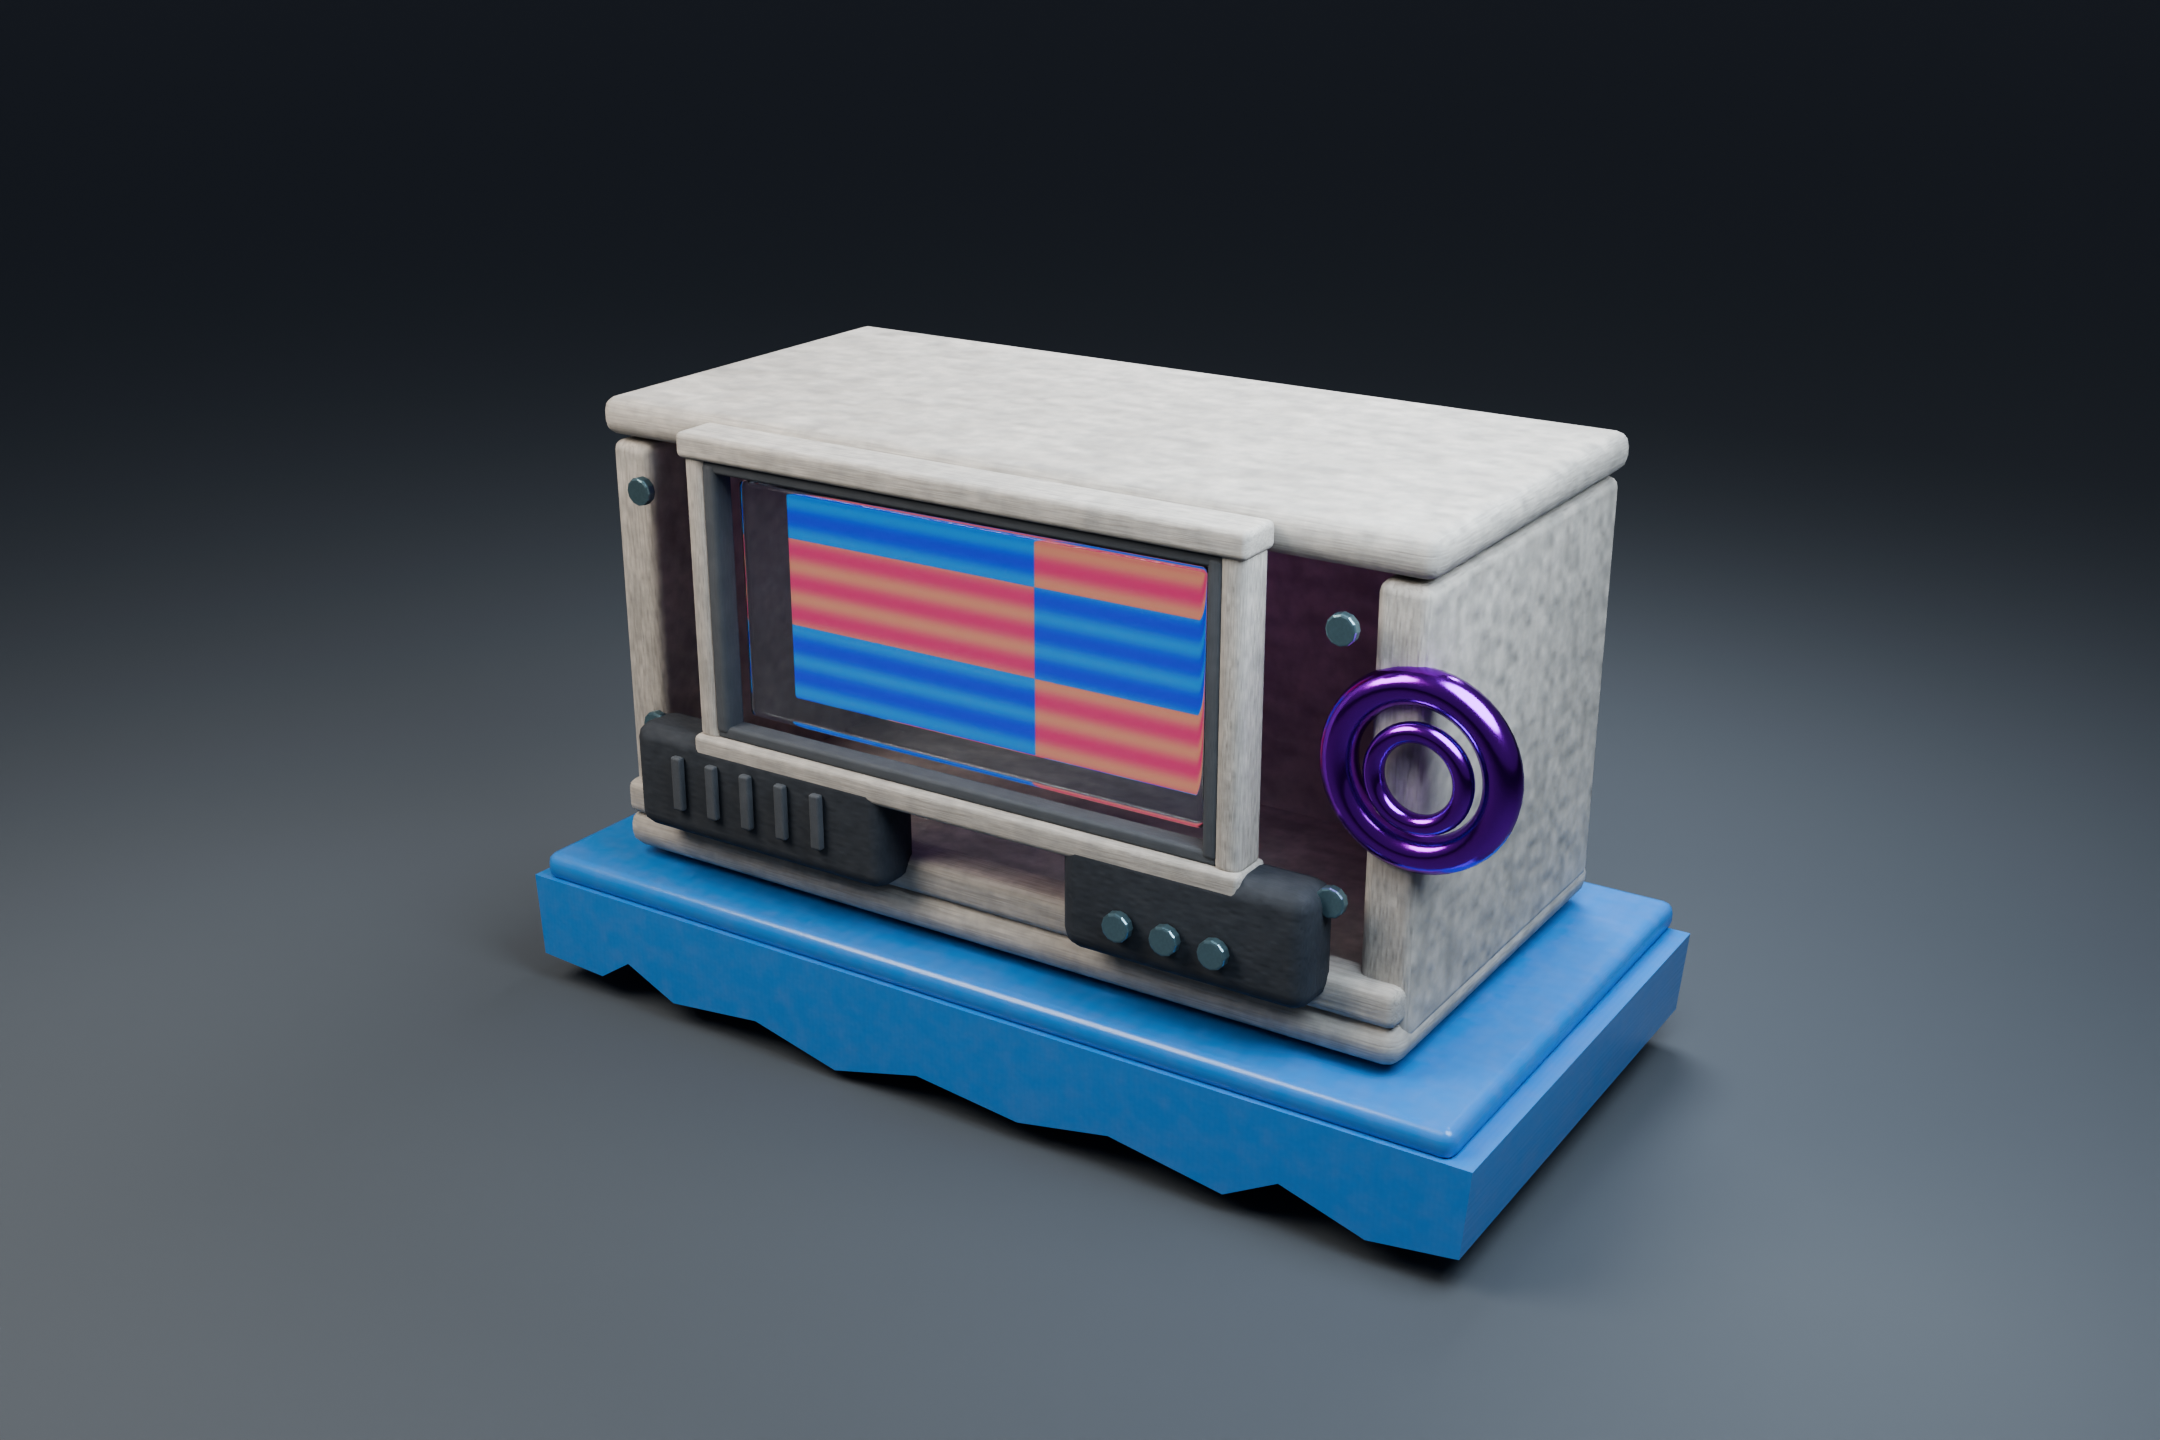
02 / Surface & state
A working example of changing an object's condition and power state independently.
The generator can look new or rusted, and be off, on or overcharged. The finish and the light are controlled separately.
Choose a combination to view its saved render.
03 / How the tools work
A model is only part of the job. Its surfaces need to fit the scene, and its technical settings need to fit the game. We are developing GAT around those connected tasks.
AI helps turn a description into a construction plan and code. Blender builds the object from those instructions. Saved instructions can be reviewed, edited and run again.
Scripted asset demonstrationsChoose the surfaces, then adjust colour, shine, wear and supported lighting effects. Reuse the same settings across related objects so they belong in the same scene.
Five material families demonstratedThe planned QA Inspector brings checks for model structure, surface mapping, scale and export settings into one place, with reports that explain what needs attention.
Dedicated inspector in developmentThe customer service will bring these tools together in a separate web app. We are working toward tested game-engine exports; the renders here demonstrate the modelling and material work.